
Setting up your first web hosting account can feel overwhelming, especially if you’re new to website management. From choosing the right hosting plan to configuring your domain and server settings, there are several steps to ensure your website runs smoothly.
With the right guidance, however, even beginners can set up a web hosting account efficiently and confidently. This guide walks you through the process and highlights practical tips to help you make informed decisions.
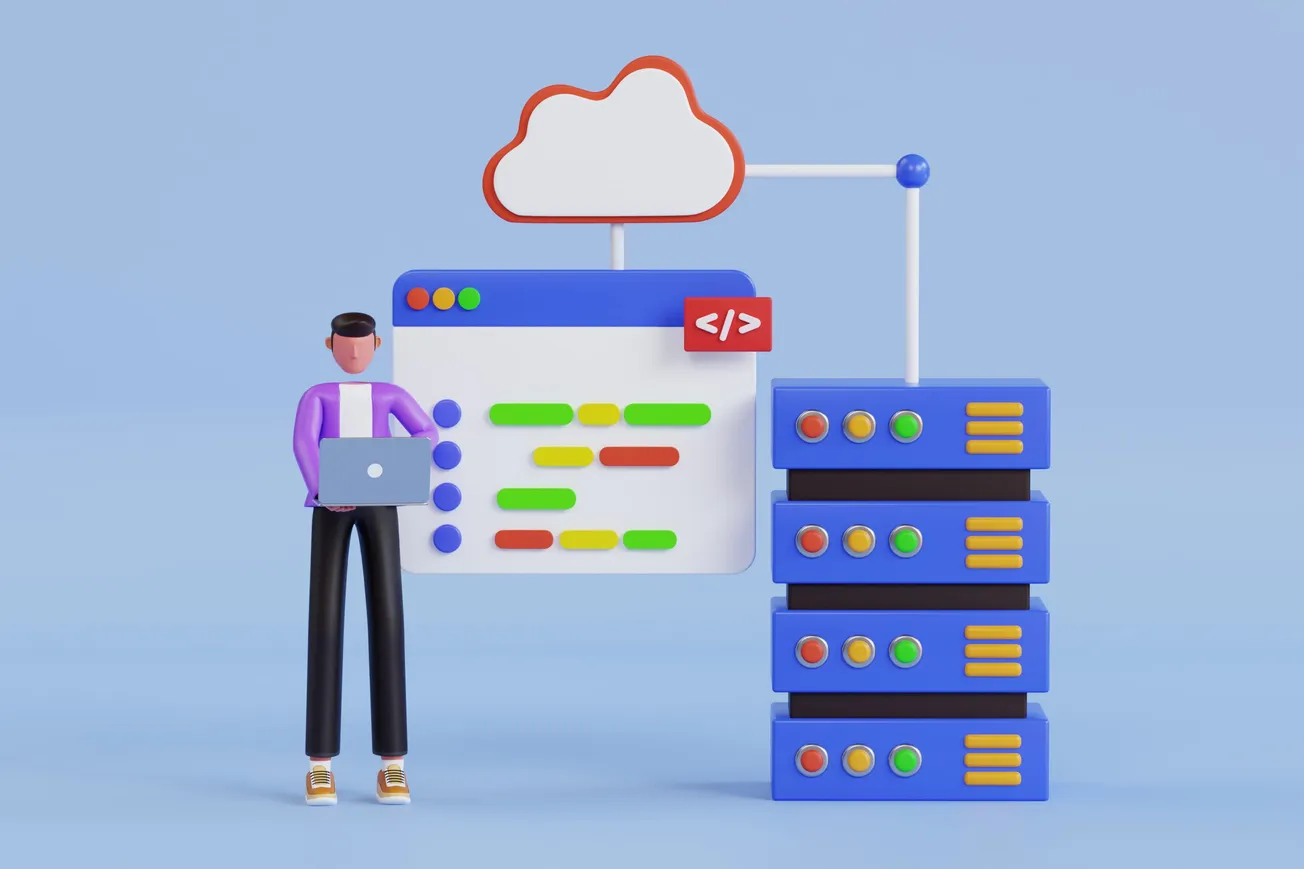
Why Web Hosting is Essential for Your Website
Before diving into the technical setup, it’s important to understand what web hosting is and why it matters. A web host stores your website files on a server and makes them accessible to users online. Choosing a reliable web hosting provider affects your site’s performance, speed, uptime, and security.
Whether you are planning to launch a personal blog, an e-commerce store, or a gaming server, the hosting plan you choose lays the foundation for a smooth online experience.
Modern hosting providers offer a range of plans, including shared hosting, VPS hosting, and dedicated hosting, each catering to different needs. Some specialized hosts even offer features such as NVMe SSD storage, best ping, and update services, which are particularly beneficial for gaming servers like Minecraft and other high-performance applications.
Choosing the Right Web Hosting Provider
Selecting a web hosting provider is arguably the most critical step in your journey. Consider the following factors:
- Server Performance: Look for fast servers with minimal downtime.
- Storage and Bandwidth: Ensure the hosting plan provides adequate storage and bandwidth for your website traffic.
- Security Features: SSL certificates, firewalls, and daily backups are essential.
- Customer Support: Responsive 24/7 support can save you a lot of headaches.
- Pricing and Discounts: Take advantage of offers and promo codes to save money. For example, many hosting services provide discount codes that can reduce your initial costs while giving access to high-performance game server hosting.
By evaluating these aspects, you can select a provider that balances performance, reliability, and affordability.
Step 1: Registering Your Domain Name
A domain name is your website’s unique address on the internet, such as www.yourwebsite.com. When choosing a domain:
- Keep it short, memorable, and relevant to your brand.
- Avoid numbers or hyphens, which can confuse users.
- Check availability using your hosting provider or domain registrar.
Once your domain is selected, you can register it either through your hosting provider or an independent registrar. Many providers offer free domain registration when you purchase a hosting plan, simplifying the process for beginners.
Step 2: Selecting Your Hosting Plan
Web hosts usually offer several types of plans, tailored to different website needs:
- Shared Hosting: Cost-effective and beginner-friendly, ideal for blogs and small websites.
- VPS Hosting: Provides more control, resources, and better performance for growing websites.
- Dedicated Hosting: Full server control, best for high-traffic websites or resource-intensive applications.
- Specialized Hosting (e.g., Game Hosting): For Minecraft servers or similar platforms, choose a host offering NVMe SSD storage, low ping, and update services for optimal performance.
Evaluate your traffic expectations, technical expertise, and long-term goals before finalizing a plan.
Step 3: Setting Up Your Hosting Account
Once you’ve chosen your plan, it’s time to set up your account:
- Create your account: Provide personal details and confirm your email address.
- Set a strong password: Security is critical to protect your site from unauthorized access.
- Link your domain to your hosting account: This can usually be done automatically if purchased together or manually via DNS settings.
- Access the control panel (cPanel or similar): This is your dashboard to manage files, databases, and email accounts.
Most hosting providers include tutorials or guides to help beginners navigate their control panels, making the setup process smoother.
Step 4: Installing a Content Management System (CMS)
A CMS simplifies website management, allowing you to create and update content without coding knowledge. Popular options include:
- WordPress: Highly customizable and beginner-friendly.
- Joomla: Flexible with moderate learning curve.
- Drupal: Powerful and secure, ideal for complex sites.
Many hosting providers offer one-click installation for these CMS platforms. After installation, you can start building your site, choosing themes, and adding plugins or extensions to extend functionality.
Step 5: Configuring Your Website
Once your CMS is installed, focus on the following:
- Set up essential pages: Home, About, Contact, and Services pages.
- Install plugins for performance and security: Cache plugins, SEO tools, and security add-ons.
- Optimize website speed: Use image compression, CDN, and enable server caching.
- Enable SSL certificates: Essential for encrypting data and improving SEO rankings.
Proper configuration ensures your site is secure, fast, and ready for visitors.
Step 6: Testing and Launching
Before launching your website:
- Test all links, forms, and pages.
- Check mobile responsiveness on different devices.
- Ensure your CMS and plugins are up to date.
- Conduct speed and uptime tests to confirm server performance.
Once testing is complete, your site is ready to go live. Share it with your audience, promote it on social media, and monitor analytics to track performance.
Step 7: Optional: Setting Up a Game Server
For gaming enthusiasts, some hosting providers, like 4NetPlayers, offer specialized game server hosting. You can rent a Minecraft server with affordable plans, NVMe SSD storage, best ping, and included update services, ensuring a smooth gaming experience. These servers allow you to create private worlds, host events, or even run multiplayer servers for friends or communities
Step 8: Maintaining Your Hosting Account
A website is an ongoing project. Proper maintenance ensures smooth operation and security:
- Update CMS, themes, and plugins regularly.
- Perform regular backups to prevent data loss.
- Monitor website performance and uptime.
- Optimize databases and remove unused files to maintain speed.
Consistent maintenance improves user experience, SEO rankings, and long-term reliability.
Conclusion
Setting up your first web hosting account may seem challenging, but with a structured approach, it becomes manageable even for beginners. From selecting the right provider and plan to configuring your CMS and optional game servers, every step contributes to a secure, fast, and reliable website.
By following this guide, using trusted hosting providers, and leveraging savings through 4NetPlayers Discount Codes, you can launch your online presence confidently—whether for a blog, business, or gaming server. Remember, the right setup lays the foundation for long-term success and scalability.
FAQs: Web Hosting Guide
Q1: What is web hosting, and why do I need it?
A: Web hosting is a service that stores your website files on a server and makes them accessible online. Without hosting, your website cannot be accessed by visitors. Choosing a reliable hosting provider ensures your site loads quickly, stays secure, and remains online 24/7.
Q2: Which type of web hosting is best for beginners?
A: For beginners, shared hosting is usually the best option. It is affordable, easy to manage, and suitable for small websites or blogs. As your website grows, you can upgrade to VPS or dedicated hosting for better performance and control.
Q3: How do I choose the right web hosting provider?
A: When selecting a hosting provider, consider server performance, uptime, security features, customer support, and pricing. Look for providers offering features like NVMe SSD storage and fast ping for performance-intensive applications, including game servers.
Q4: Can I host a Minecraft server using my web hosting account?
A: Yes! Certain providers, such as 4NetPlayers, offer affordable Minecraft server hosting with high-performance NVMe SSD storage, best ping, and automatic update services. Using 4NetPlayers deals & offers can help reduce costs while accessing premium features.
Q5: What is the difference between shared, VPS, and dedicated hosting?
A:
- Shared Hosting: Multiple websites share the same server resources; cost-effective but less control.
- VPS Hosting: Virtual private server offering dedicated resources within a shared server; more control and performance.
- Dedicated Hosting: Full server access for one user; maximum performance, ideal for high-traffic websites or gaming servers.
Q6: Do I need a domain to set up web hosting?
A: Yes. A domain is your website address (e.g., www.yourwebsite.com). Most hosting providers allow you to register a domain when purchasing a hosting plan or link an existing domain to your hosting account.
Q7: How often should I maintain my web hosting account?
A: Regular maintenance is crucial. Update your CMS, plugins, and themes, perform backups, monitor performance and uptime, and optimize databases. Proper maintenance ensures speed, security, and long-term reliability of your website.
Q8: Can I switch hosting providers later?
A: Yes. You can migrate your website to another hosting provider if needed. Many hosting companies provide migration support or guides to transfer your files and databases safely.
Q9: Is web hosting secure for personal or business websites?
A: Security depends on your provider and how you manage your account. Look for features like SSL certificates, firewalls, daily backups, and malware scanning. Additionally, use strong passwords and keep your CMS and plugins up to date.
Q10: How much does web hosting cost?
A: Costs vary depending on the hosting type and provider. Shared hosting can start as low as $2–$10 per month, VPS hosting ranges from $20–$50, and dedicated servers may cost $80 or more per month. Promo codes like 4NetPlayers Discount Codes can help reduce costs, especially for specialized hosting like gaming servers.
Article by Max Owen


